Measurement Capabilities
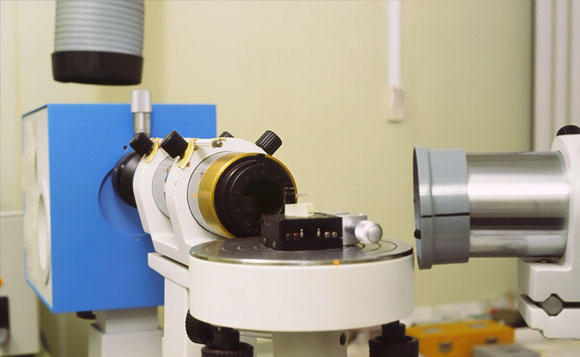
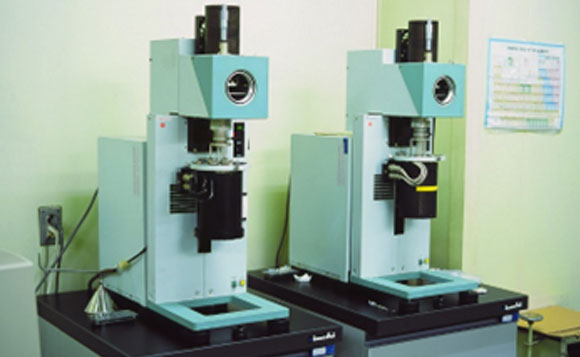
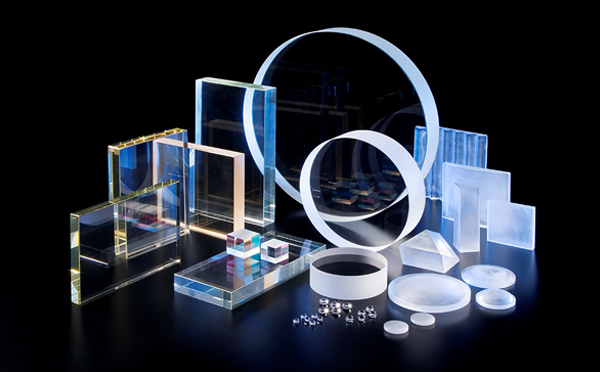
Ohara’s measurement facilities encompass some of the world’s most advanced optical metrology equipment, capable of measuring glass ceramics, quartz, fused silica, CaF2, liquids, polymers, and more materials.
Lorem Ipsum is simply dummy text of the printing and typesetting industry. Lorem Ipsum has been the industry’s standard dummy text ever since the 1500s, when an unknown printer took a galley of type and scrambled it to make a type specimen book. It has survived not only five centuries, but also the leap into electronic typesetting, remaining essentially unchanged. It was popularised in the 1960s with the release of Letraset sheets containing Lorem Ipsum passages, and more recently with desktop publishing software like Aldus PageMaker including versions of Lorem Ipsum.
Lorem Ipsum is simply dummy text of the printing and typesetting industry. Lorem Ipsum has been the industry’s standard dummy text ever since the 1500s, when an unknown printer took a galley of type and scrambled it to make a type specimen book. It has survived not only five centuries, but also the leap into electronic typesetting, remaining essentially unchanged. It was popularised in the 1960s with the release of Letraset sheets containing Lorem Ipsum passages, and more recently with desktop publishing software like Aldus PageMaker including versions of Lorem Ipsum.
Lorem Ipsum is simply dummy text of the printing and typesetting industry. Lorem Ipsum has been the industry’s standard dummy text ever since the 1500s, when an unknown printer took a galley of type and scrambled it to make a type specimen book. It has survived not only five centuries, but also the leap into electronic typesetting, remaining essentially unchanged. It was popularised in the 1960s with the release of Letraset sheets containing Lorem Ipsum passages, and more recently with desktop publishing software like Aldus PageMaker including versions of Lorem Ipsum.
Contents of our Measurement and Analysis Capabilities
- Refractive indices of solid
- Temperature coefficient of refractive index
- Birefringence
Measurement of Spectral Transmission and Reflection
- Transmission at visible and UV wavelength
- Transmission at infrared wavelength
- Internal transmittance
Measurement of Mechanical Characteristics
- Knoop hardness
- Photoelastic constant
Measurement of Thermal Characteristics
- Linear expansion coefficient
Dimensional Measurements
- Angles
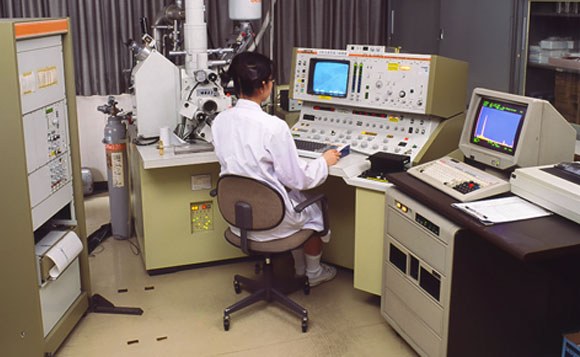
Analysis of Glasses and Raw Materials
- Major chemical components of the composition
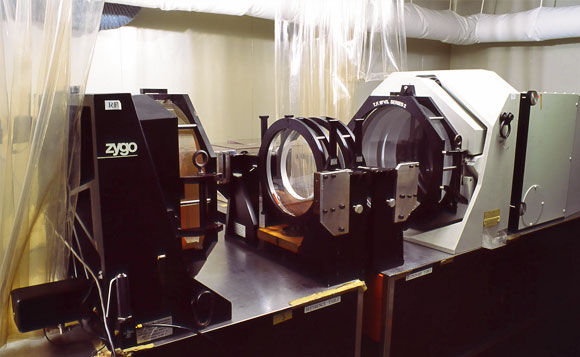
Optical Homogeneity (Refractive index variation over an aperture)
We measure variation of refractive indices over an aperture. Typically, interferometers are used for the measurements. We can measure various materials from plastics to high quality optical glasses. Interferograms are provided as a resource for optical homogeneity.
Refractive Indices at Vacuum UV area (Around 157 nm)
Ohara domestically first succeeded in developing a method of precision refractive index measurement on optical materials used in vacuum UV wavelength (around 157nm). Until today it was quite difficult to obtain refractive index data at around 157nm. Ohara can measure the refractive index at the wavelength to 6 decimal places by the developed method. This new technology also is used to measure dispersion at a particular wavelength and the thermal coefficient of refractive indices in room temperature (coefficient of refractive index variation by the change of temperature in operation environment).
For refractive index measurement in deep UV, the shortest wavelength we can measure is 185nm up to now with the conventional methods. To measure at 157nm it is necessary to remove almost all oxygen from the entire measurement system because the light is damped by 1/70 per 1mm by oxygen in the air.
